Request Your Free Quote!

From 1970s Popcorn to Smooth: A Tustin Ceiling Redo
A 1974 Tustin ranch ceiling goes from yellowed popcorn texture to a level-5 smooth finish in nine days. See the asbestos test, skim coat, and OC costs.
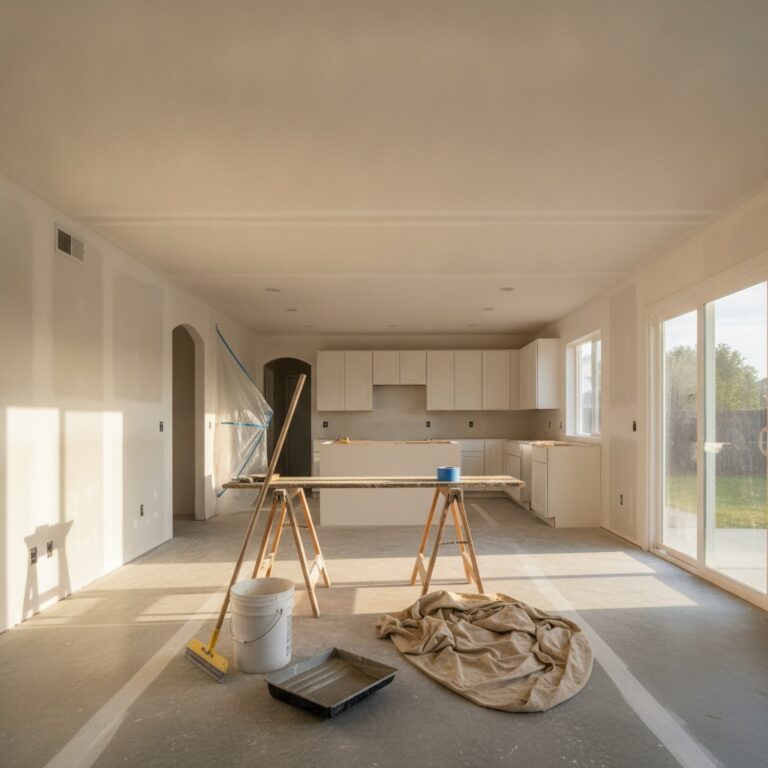
The house was a 1974 single-story ranch off Red Hill in Tustin, and the living room ceiling told you the year before the seller did. Cottage-cheese popcorn texture, yellowed in the corners, with a hairline map of seams showing through where the original tape had telegraphed. The homeowners had just bought the place. They wanted one thing before they moved a stick of furniture in: a flat, smooth ceiling that read clean under their new recessed lights. This is how that 612 square foot ceiling went from 1970s texture to a level-5 smooth finish in nine working days.
The Tustin Ranch That Time Forgot
The walk-through started with a flashlight held flat against the ceiling. That raking angle is the honest test. It showed three problems at once. The popcorn texture itself was the obvious one. Behind it, the old seams had ridged up over fifty years of SoCal heat cycling. And near the hallway, a faint brown halo marked an old roof leak that had dried out long ago. The texture was hiding all of it. A ceiling like this does not need a quick scrape and a coat of paint. It needs a plan that treats the surface as one continuous canvas.
The living room opened straight into a galley hallway, so the ceiling ran unbroken across about 612 square feet. That continuity mattered. Stop the smooth finish at a doorway and the eye catches the seam every time. The homeowners also planned six new recessed LED cans. LED light is unforgiving. It rakes across a ceiling the way late afternoon sun rakes a wall, and it shows every ridge, every fastener, every lazy tape edge. That single decision, the new lighting, set the finish level for the whole job.
Test First, Scrape Second
Nothing got scraped until the lab results came back. Any popcorn texture sprayed before 1986 can contain asbestos, and a 1974 ceiling sits right in that window. An asbestos test runs about 250 to 850 dollars, and it is not the place to gamble. Scraping suspect material dry sends fibers into the air of a house someone is about to live in. The Tustin sample came back clean, which is common but never assumed. With the all-clear in hand, the real work started.
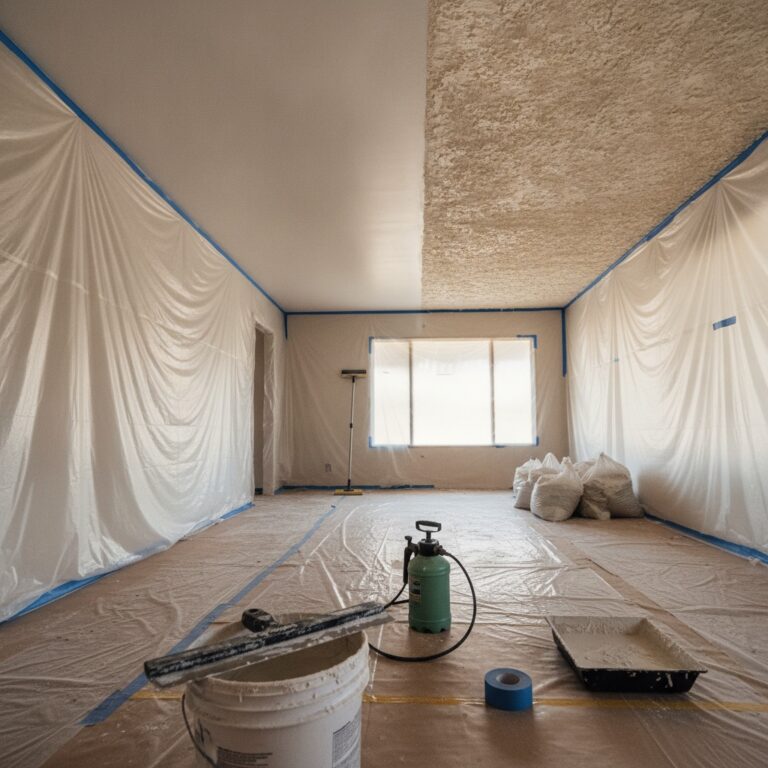
Scraping is wet work. The crew misted the ceiling in sections, let the water soak the texture for a few minutes, then pulled it down with wide scrapers onto plastic sheeting taped wall to wall. Wet scraping keeps the dust down and keeps the mess in one place. Under the popcorn sat the original 1974 finish, and it was rough. Skip-troweled seams, a few popped fasteners, and the dried stain near the hallway. Scraping alone gets you a bare, blemished ceiling, not a finished one. The texture comes off in a day. The flat finish is what takes real skill.
The nine working days broke down cleanly. Day one was masking, furniture protection, and the wet scrape across all 612 square feet. Day two covered refastening, retaping the ridged seams, and the stain-blocking primer. Days three through six were the skim-coat passes and sanding, with a full drying day worked in so the compound set hard before the next coat. SoCal summer humidity stays low, which helped the mud cure on schedule. Day seven was the final sand and a flashlight inspection. Days eight and nine were primer and two finish coats of flat white, with the recessed cans cut in once the paint was dry.
Why This Ceiling Needed Level 5
Here is the part homeowners rarely hear at the bid stage. Scraping popcorn does not give you a smooth ceiling. It gives you the old, flawed surface that the texture was covering. To read flat under LED light, that surface needs a level-5 finish, which means a thin skim coat of joint compound rolled and knocked down across the entire ceiling, not just the seams. A level-4 finish, the standard for most walls, leaves the field paper exposed between taped joints. Under raking light, that contrast in sheen shows as faint stripes.
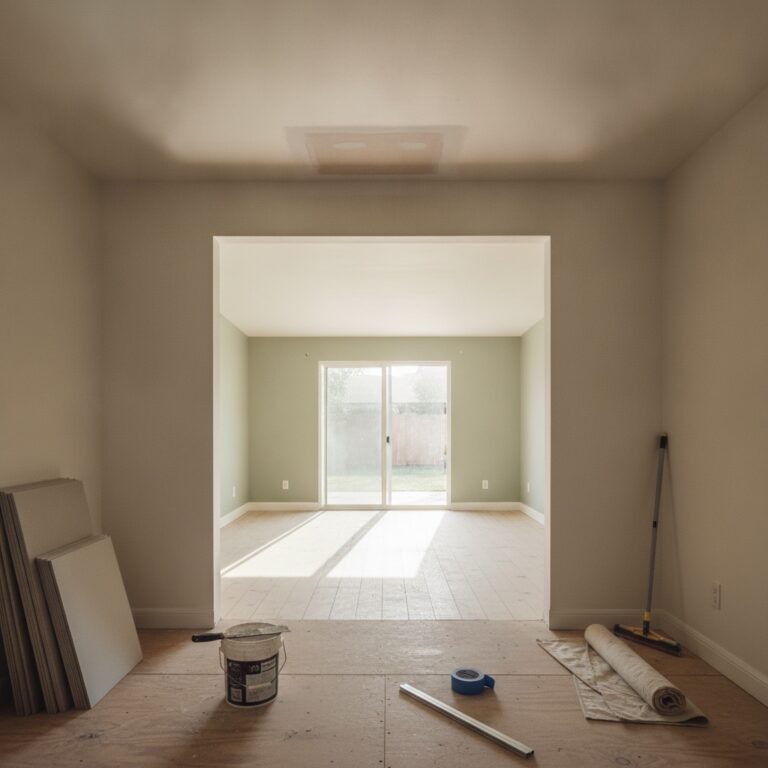
For this Tustin ceiling, the crew first refastened the loose areas, retaped two ridged seams, and sealed the old water stain with a stain-blocking primer so it could never ghost back through. Then came the skim coat. One pass to fill, a sanding, a second thin pass, another sanding with a light held flat to catch any shadow. Level 5 exists for exactly this situation, where critical side lighting and a flat ceiling would expose every imperfection a level-4 finish hides. The ceiling got two coats of flat white before the LEDs went in. Flat paint hides micro-texture that eggshell or satin would amplify.
The Numbers on a 1970s Ceiling Redo
Costs ran where you would expect for Orange County. Full popcorn removal with a smooth refinish lands in the range of 3 to 6 dollars per square foot once you add the finishing labor, drying time, sanding, primer, and paint. The deeper level-5 work, taken turn-key from texture to flawless smooth, can reach 14 to 20 dollars per square foot when the old surface is rough enough to need full reconstruction. This Tustin ceiling sat in the middle. The 612 square feet, the stain remediation, and the level-5 skim put the drywall portion near the upper-middle of that band, with the electrician’s recessed cans billed separately.
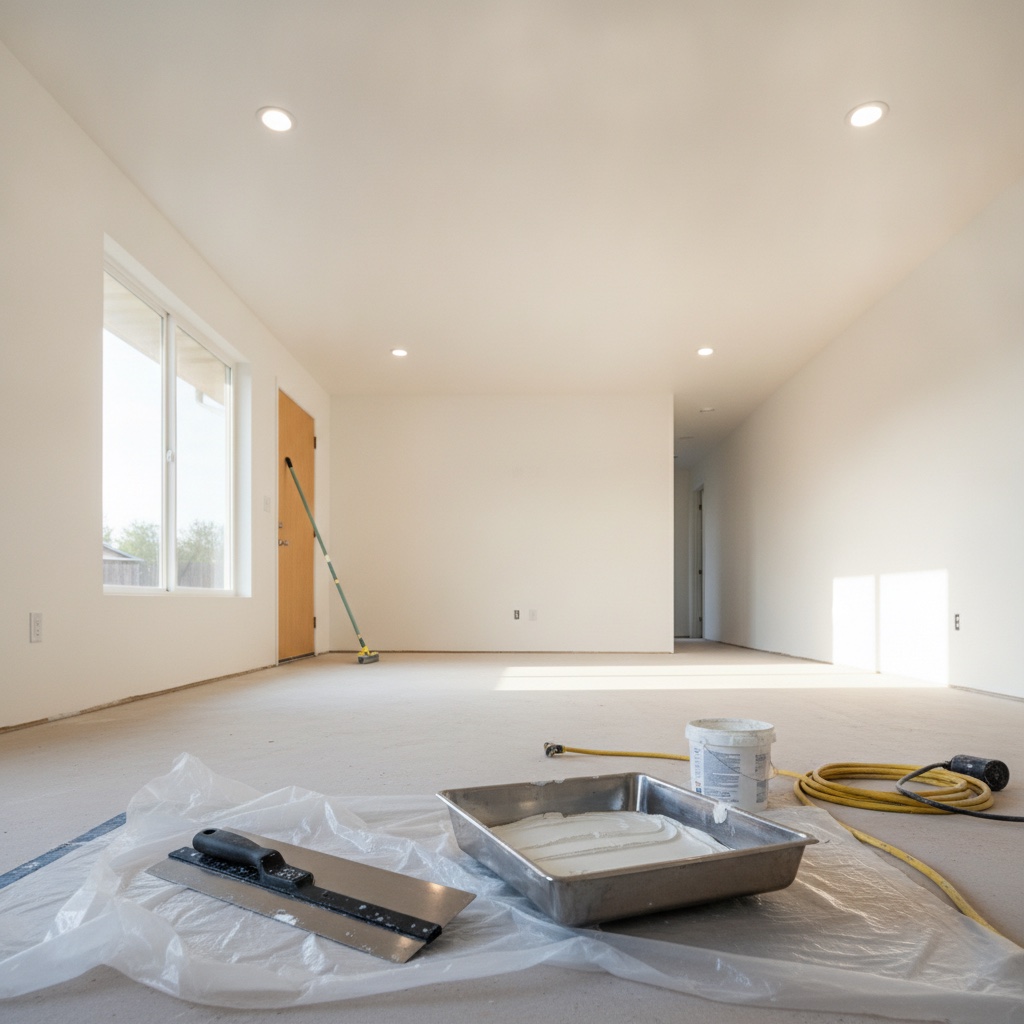
The payoff is not only the look. Smooth ceilings have become the default expectation in OC, and removing dated texture is widely tied to a 3 to 5 percent lift in buyer interest and faster offers. Move-in-ready ceilings help a listing compete. For these homeowners, who plan to stay, the real return showed up the first evening the LEDs came on. The light spread even and clean across the whole run, hallway included, with no ridges and no shadow lines. The ceiling stopped being something the eye snagged on.
Thinking About Your Own Ceiling
If your ceiling still wears 1970s or 1980s texture, the path is the same one this Tustin project followed. Test for asbestos first. Decide your finish level based on your lighting, not just your budget. And treat the ceiling as one surface so the smooth finish never stops mid-room. Every house is different, and a stained or ridged ceiling can change the scope once the texture comes down. That is why JNL starts every project with a free in-home assessment, where we read your ceiling under a raking light and give you an honest finish-level recommendation and a clear number before any work begins. Reach out and we will come take a look.
Morning-context sources used: HomeGuide, Popcorn Ceiling Removal Cost (2026); Angi, Popcorn Ceiling Removal Cost (2026 Data); House Digest, Popcorn Ceilings and Resale Value; National Gypsum, Level 4 vs Level 5 Drywall Finish; Homewyse, Cost to Replace Ceiling Drywall (May 2026).