Request Your Free Quote!


Opening a Living Room to a Covered Patio in Huntington Beach
How a Huntington Beach single-story opened its living room to a covered patio: buried header, level-5 drywall, and real 2026 costs for the opening.
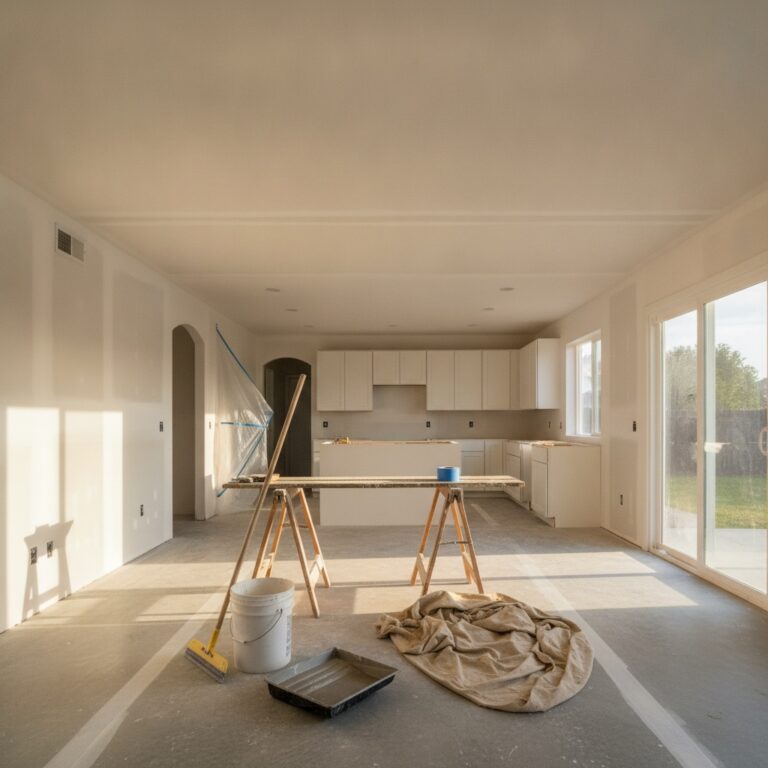
The back wall of a 1994 Huntington Beach single-story held a six-foot slider, one small window, and eighteen feet of drywall that blocked the best weather in the country. The owners wanted the living room to open onto their covered patio so the two spaces would read as one room from May through October. This is the story of how that wall came down, what the drywall scope actually covered, and what the finished opening cost in 2026 dollars.
The project ran three and a half weeks from demo day to final walk. The wall turned out to be load bearing, and that one fact shaped everything after it: the engineering, the permit, the header, and the drywall repairs that stitched the room back together. Here is the timeline, decision by decision.
The Assessment: Load Bearing, and Still Worth It
The first visit took an hour. The wall ran perpendicular to the ceiling joists, which usually means it carries roof load, and a look in the attic confirmed it. A structural engineer specced a laminated beam and produced a stamped drawing for the city. The report cost about $600, squarely inside the typical $250 to $1,000 range for a residential structural analysis.
Single-story homes are the easy case for this kind of opening. Removing a load-bearing wall in a single-story typically runs $1,200 to $3,000 for the structural portion, compared to $3,200 to $10,000 when a second floor sits on top of it. This house had nothing overhead but attic insulation and roof framing, so the beam could go in without shoring an upstairs floor system.
The owners priced the new door at the same time, which was smart. A twelve-foot, three-panel multi-slide came in near the bottom of the $5,000 to $25,000 installed range that multi-slide systems command this year. A standard sliding patio door runs $1,500 to $3,500 installed, but a standard slider was exactly the thing they were trying to escape. The wide opening was the whole point of the project.
Demo Week: What an Opened Wall Exposes
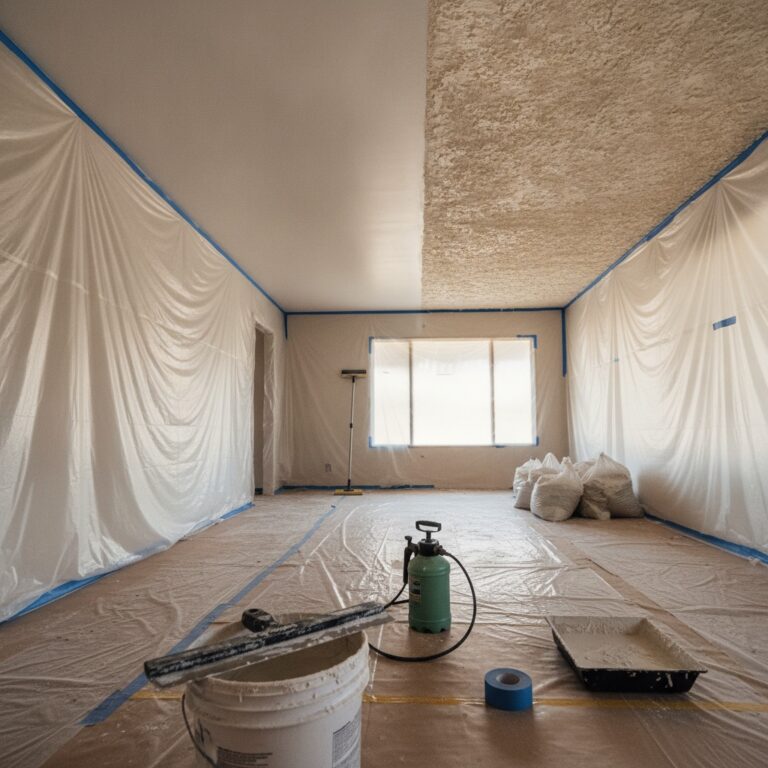
Demo took two days. The crew built a floor-to-ceiling plastic containment wall with a zippered doorway, taped off the return-air grille, and ran ram board across the oak floor. The old slider came out first, then the drywall came off in sheets down to bare studs. Every cut got scored first so the demo edge would land on solid framing for the patch work later.
Every opened wall in a house this age hides something. Here the surprises were small: one cable line stapled through the stud bay and an abandoned junction box that had been mudded over sometime in the 2000s. The electrician rerouted one circuit in an afternoon. On other jobs the surprise is a drain line or a gas run, and the budget moves. A ten percent discovery allowance was written into this quote up front, so the reroute never became a change-order argument.
The Header, the Flush Ceiling, and the Drywall That Hides Both
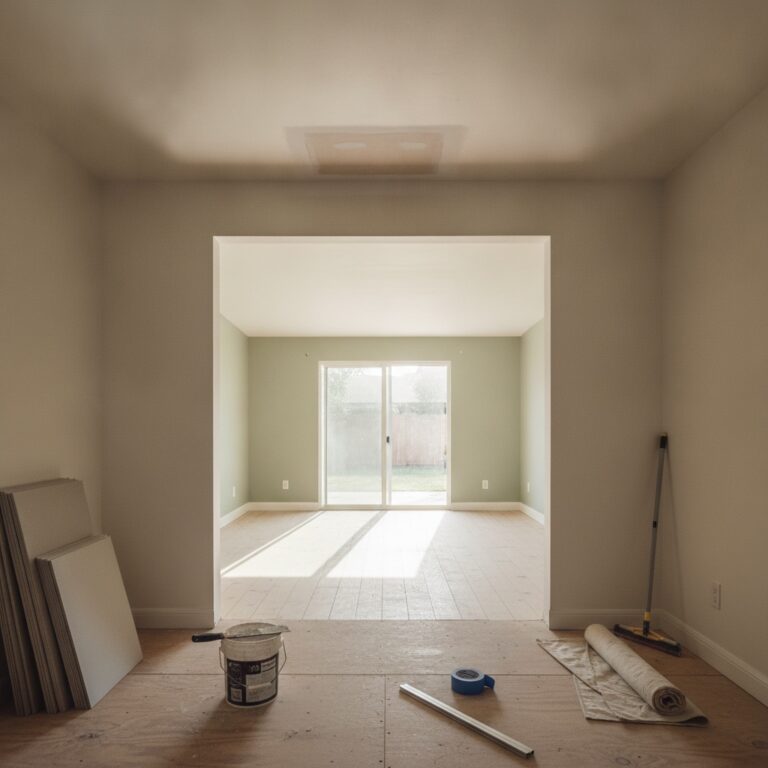
The framer set the laminated beam in one long morning. The owners faced the one decision that defines how this room looks forever: drop the beam below the ceiling and wrap it in drywall, or bury it up in the attic framing so the ceiling runs flat. They paid for the buried beam. It added framing hours, but the living room ceiling now runs in one clean plane straight to the door head, and the room reads twice as big for it.
The drywall scope covered three zones. First, the ceiling patch where the old top plate came out, hung with 5/8-inch rock to match the original ceiling. Second, the two wall returns flanking the new door, framed with new king studs and hung with 1/2-inch. Third, the tie-in lines where new rock met thirty-year-old walls, which is where most patch jobs fail. Every tie-in got back-blocking so no seam floated between studs.
Taping ran three days. The ceiling seams got setting-type compound for the first coat because it shrinks less over long spans, then two topping coats feathered out sixteen inches on each side. A flexible corner bead went on the door returns since a wide opening flexes more than a doorway. Rushing this stage is how a beautiful opening grows a hairline crack by Christmas.
Level-5 Where the Sun Rakes, Knockdown Where It Does Not
Here is the finish decision that matters most in a patio opening. Afternoon light now pours through twelve feet of glass and rakes across the ceiling and the flanking walls for hours every day. Raking light is merciless on a level-4 smooth finish. Every ridge, every screw dimple, every lap mark shows up like a relief map at 5 p.m.
So the ceiling and both flanking walls got a level-5 finish: a full skim coat over the entire surface, sanded, then checked again under a work light held at a hard angle. Level-5 runs $2 to $5 per square foot in 2026, and this job covered about 380 square feet of it, roughly $1,300 of the drywall line. It is the single best money in the whole project because it is the surface the sun interrogates daily.
The rest of the room kept its original light knockdown texture. The finisher matched it on the remaining patch areas with a hopper gun test panel first, dialed until the splatter size and knockdown drag matched the 1994 original. Skimming the entire room smooth would have added about $2,800, and the owners spent that money on the door hardware instead. Matching texture well beats replacing texture everywhere.
Prime, Paint, and the Golden-Hour Walk
Primer counts double on a job like this. The level-5 surfaces got a high-build primer that evens out porosity between skim coat and old paint, because topcoat sheen telegraphs any difference. Walls went chalk white, and the ceiling got a flat ultra-white that hides what little the level-5 left behind. Two finish coats, back-rolled.
The final walk happened at 6 p.m. on purpose. Checking seams at noon proves nothing. The owners stood where the couch would go and looked down the ceiling plane, through the open door, out to the sage cushions on the patio. No shadow lines, no bellied seams, no texture mismatch at the tie-ins. The room and the patio now read as one space, about 640 square feet of combined living area where a wall used to split 380 from 260.
The full opening, structural work, door, drywall, finish, and paint landed in the low twenty-thousands, with the door itself the biggest single line. The drywall and finish scope came in under $4,500 of that. If a wall in your Orange County home is standing between your living room and your patio, one visit is enough to tell you whether it is load bearing, what the drywall scope looks like, and what the whole opening should cost. The in-home assessment is free, and August books fast while the weather makes the case for you.
Morning-context sources used: Houzz covered patio ideas, August 2026; HomeGuide 2026 cost to remove a wall; Angi 2026 load-bearing wall removal cost; HomeGuide 2026 sliding glass patio door cost; BetterHomePro level 5 drywall finish cost.